Mini jardinière d'étang
Difficulté : Intermédiaire
Égayez votre extérieur avec ce projet amusant de mini étang avec jardinière.
Produits recommandés
Ce dont vous avez besoin
- Planches de bois rabotées 1,80m x 30cm
- 4.0 vis à bois de 50 mm
- Bois pour la base
- 240g de papier de verre
- Peinture anti-humidité
- Huile/vernis/peinture
- Granulats
Instructions étape par étape
Étape 1
Coupez deux planches de 78 cm pour les côtés de la jardinière et coupez trois pièces de 38 cm pour les extrémités de la jardinière et le séparateur.


Étape 2
Construire le cadre extérieur à l'aide des vis à bois.
Conseil : toujours percer des avant-trous avant de visser.
Étape 3
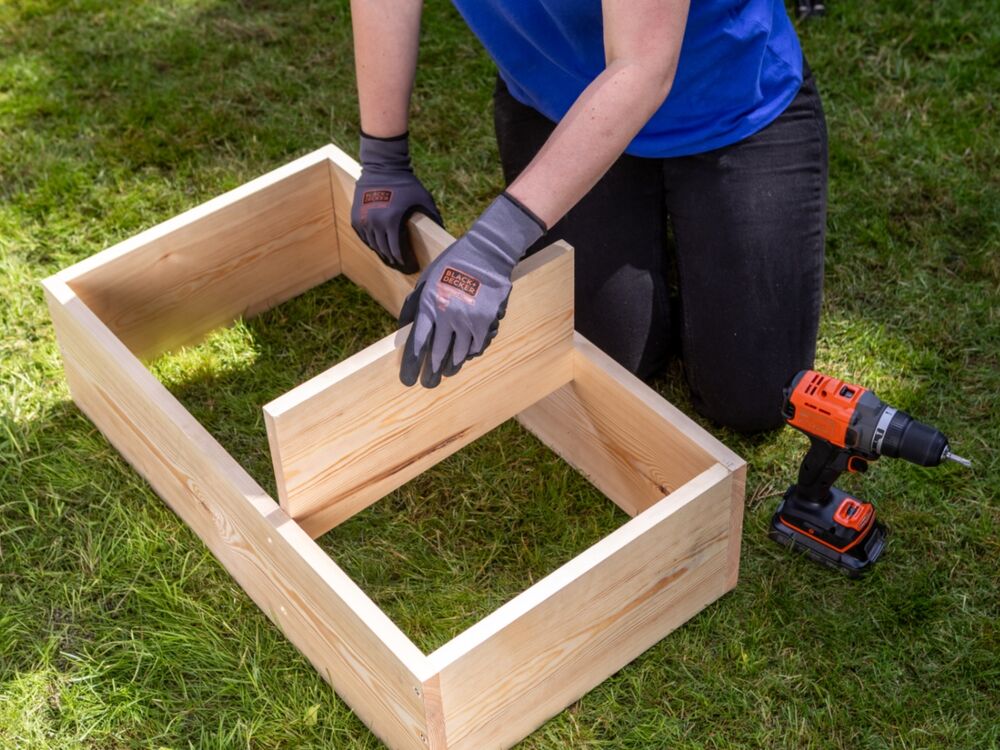
Faites glisser le séparateur dans le cadre et vissez-le en place.


Étape 4
Mesurez et coupez les planches de bois pour la base, retournez-les et fixez-les au cadre à l'aide de vis à bois.
Conseil : percez des trous de drainage dans la base du côté de la jardinière à l'aide d'un foret de 8 mm.
Étape 5
Poncer avec du papier 240g.


Étape 6 :
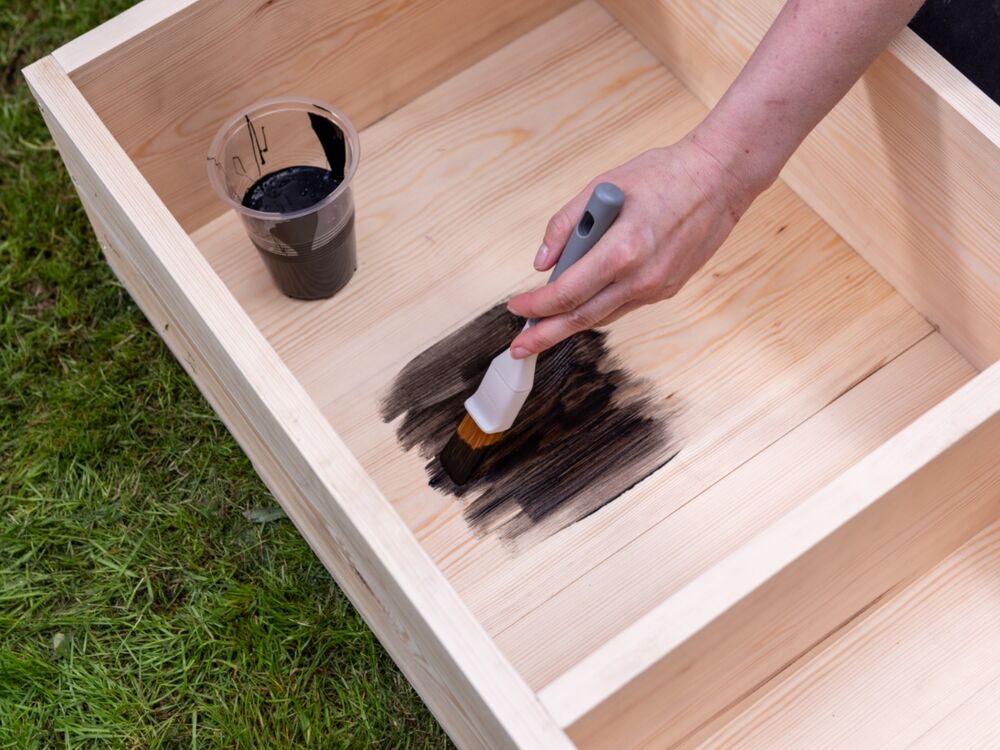
Peindre l'intérieur de chaque compartiment avec de la peinture pour sceller l'humidité.
Étape 7
Teindre l'extérieur avec l'huile/le vernis de votre choix, ou le peindre.


Étape 8
Remplir d'abord le côté de la jardinière avec des granulats, puis avec les plantes.
Étape 9
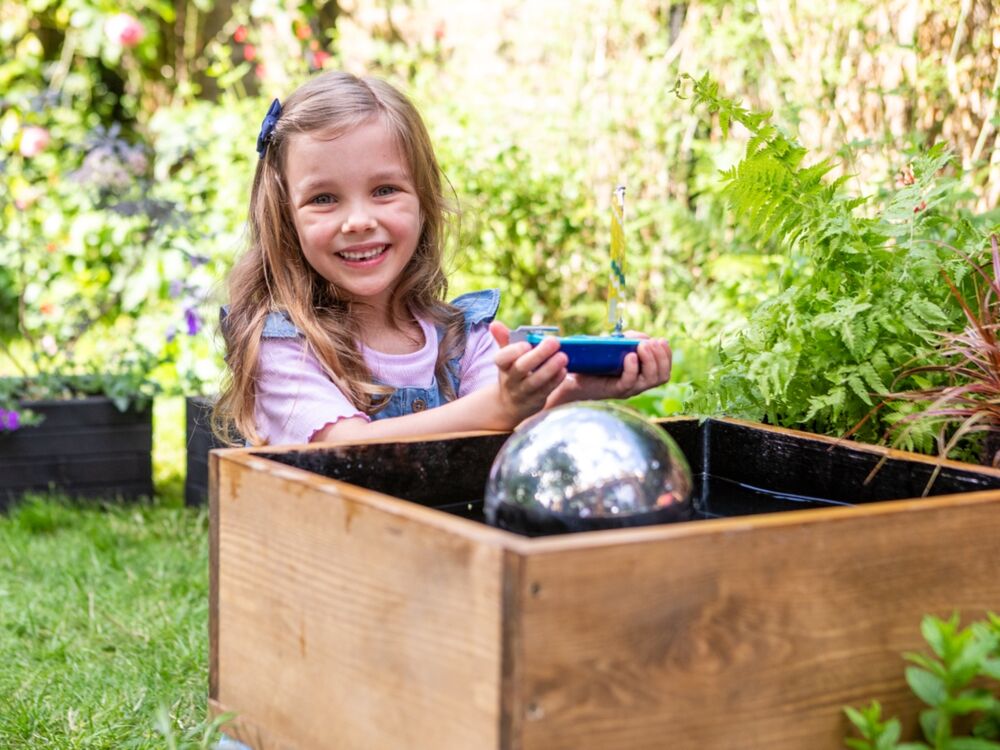
Remplissez le côté bassin avec de l'eau, des plantes et des ornements.


